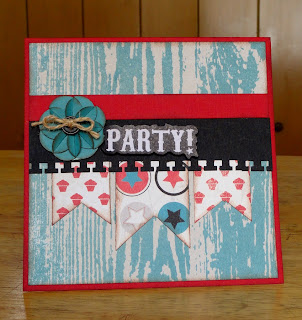
We're back today with another great tutorial - this one is from Becky on the Dahlia Flower that she used on a card in yesterday's post. Let's take another look at the card and then we'll get started with the tutorial!
Dahlia Flower Tutorial with Becky
Supply ListDouble-sided paper or cardstock
Circle punch
Xyron or adhesive of choice
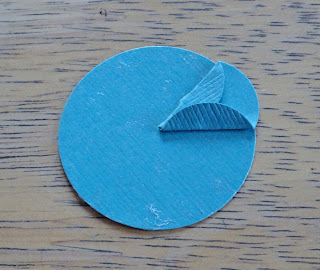
1. You will need to punch 8-9 circles for your petals (depending on how accurate or not your folding is) and one circle for your base. I like to use a circle that is a little larger for the base to give me a larger sticky surface.
3. Begin folding the petal circles. You will fold each side in so that they come to a point. After you have folded a petal, start adhering them to the base circle, gluing the point as close to the center as possible. If you adhere each as you finish folding them, it becomes easier to see how big or small you should be folding the petals.
4. Finish your flower with a button, large jewel, or Epiphany epoxy.
Thanks, Becky! Such a cute flower! I'm feeling very spring-ish after all of these flower tutorials! And another great way to use a basic circle punch!
We'll see you back here tomorrow with one of my projects!
Andi


No comments:
Post a Comment