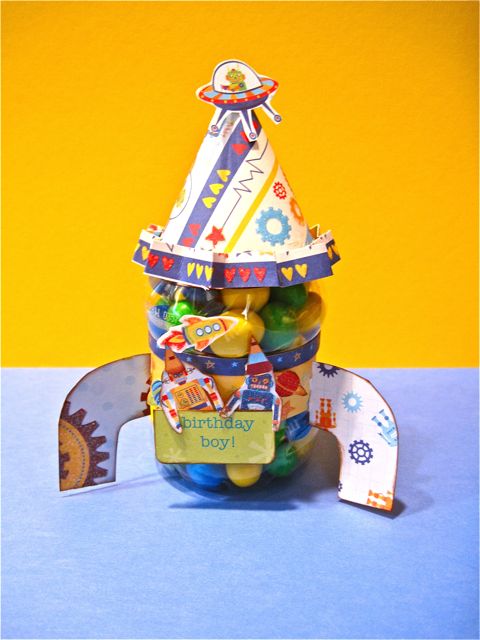
The weekends getting close... I think you'll want to read Christina's tutorial on making "Spinners" so that you can create tons of projects with them! They're really cool and once you start thinking about it, I'm sure you'll come up with a ton of projects to use them with!
Here's the spinner again.
And here's Christina!
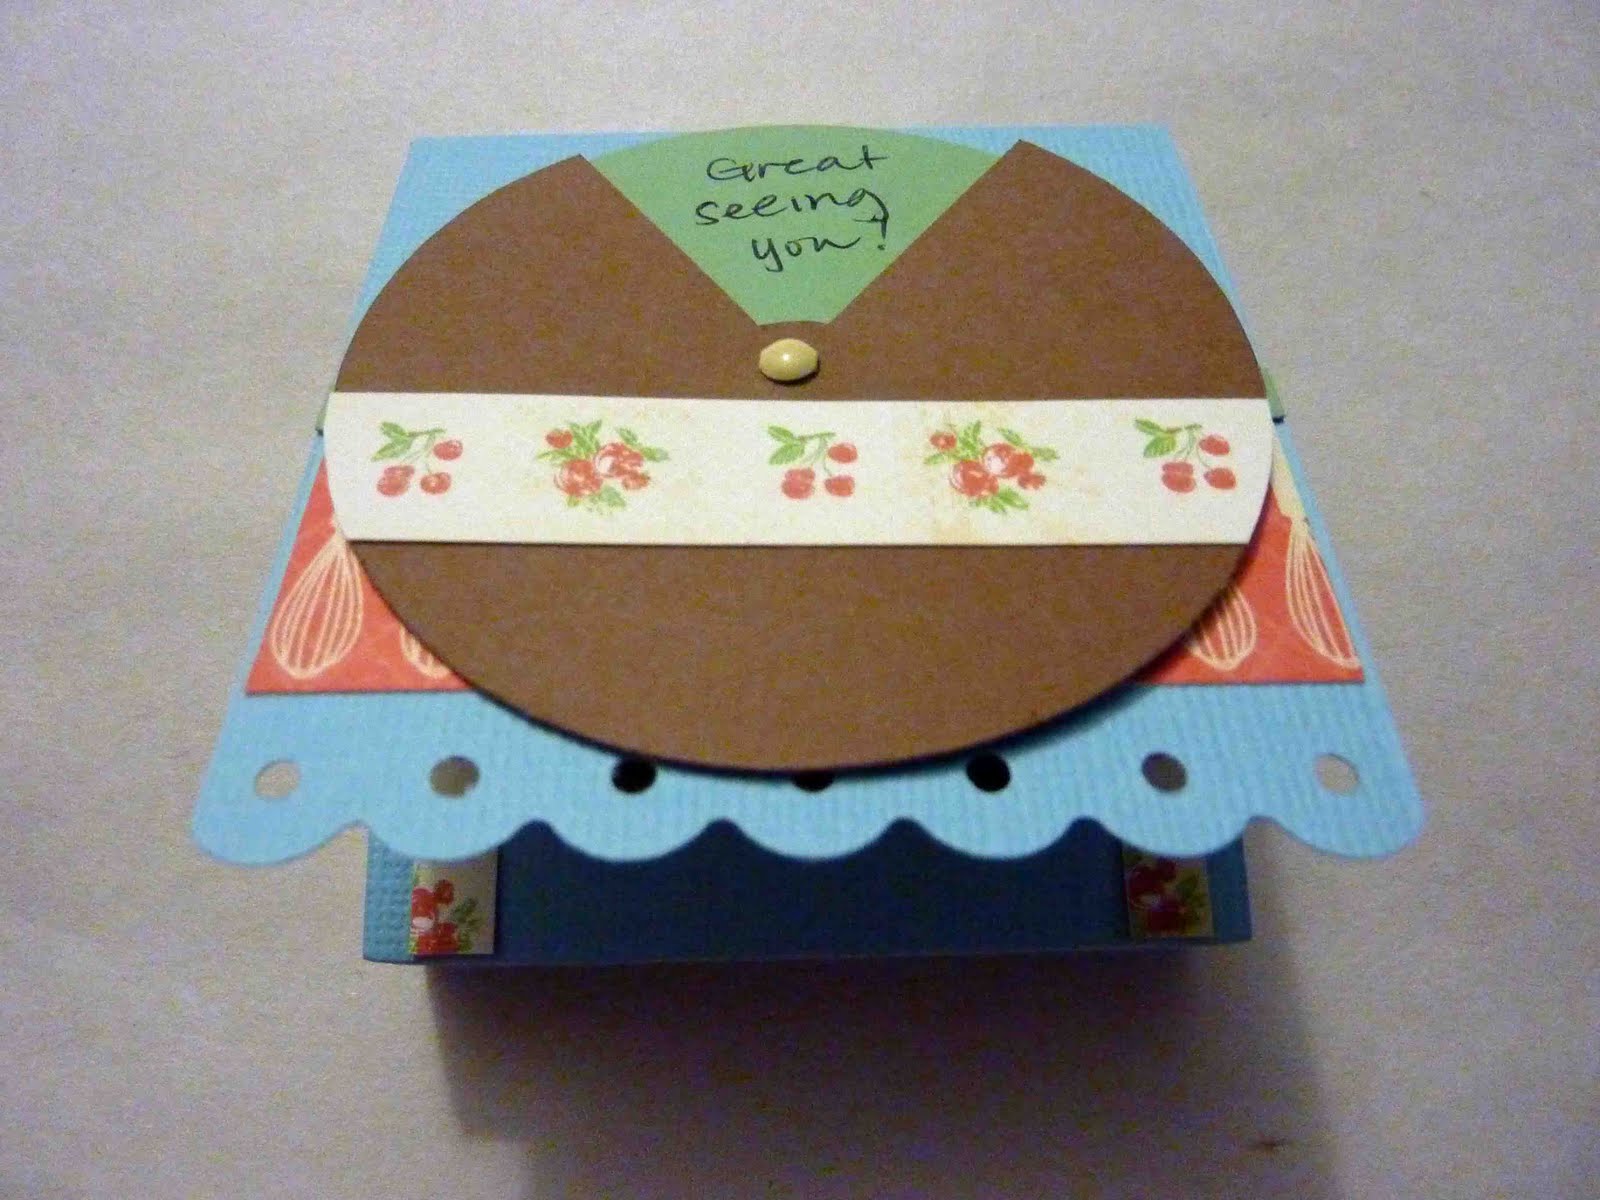
You can't have your guests go home empty handed, so I created a party favor that is a small box of jelly bellies! The box was simple - it was a Sizzix Bigz die called "Box, Shaker" that is one piece already scored for you. The only thing you need is to adhere a small piece of acetate to the opening so whatever you decide to fill it with doesn't fall out. Decorate as you like, just don't forget to fill the box before you completely put it together!
I thought I would create my own embellishment to add to the box top with a few fun phrases. I'm not sure of the actual term for it, but I call it a spinner window LOL! I created it in a very basic manner as described here:
I happened to have a 2 3/4 inch circle punch which fit the box top perfectly. (Of course you can use any size circle you want.) You need to cut out 2 circles for the embellishment. One circle will be the "top" one with the window and the other will be the backing with the things that will show through the window.
I cut out a 3rd circle and labeled it "template". For my embellishment, I wanted it to show 4 different phrases so I folded the template into fourths, like pie slices (you can do as many as you want, but they must be equal size). Then I roughly drew the window just a little smaller than one of the pie-shaped quadrants. DO NOT CUT ALL THE WAY TO THE CENTER because it will not stay together!
I cut out that window from my template and used that to cut out the window from the brown circle that I wanted for my spinner. You also need to punch a small hole right in the center of your window and your backing piece.
On my backing piece, I lightly marked where it would be divided in fourths. (Thought it is not shown here, I used my folded template for this.) Then I laid my window piece on top of it and wrote my phrases in. Since it was a party favor, I wrote "Great seeing you", "Thanks for coming", "Hope you had fun", and "Let's do it again"
Lastly, put a brad or even an eyelet through the center and you're done. Decorate as you like. Adhere it to a party favor, a card, or a gift and take it for a spin! You can even use it to show several pictures or details to a party (i.e. What, When, Where, RSVP).
Thanks, Christina for this fun and great idea!
We'll see everyone back here tomorrow for one of Michelle's projects!!!
Andi