
For this tutorial I will be using the measurements for making a large yo-yo like I did on the banner I made using My Mind's Eye American Made collection. At the end I will explain how to adjust for different sizes.
1. Cut two strips that are 2 x 12 inches. Using a scoring blade or a scoring board (which I really need to add to my arsenal!), score at every 3/4 of an inch.

2. Fold the strips at each score line going back and forth.

3. Glue the two strips together. You will want to glue them so that you have a continuous "mountains and valleys" pattern. You may need to cut a piece off in order to do this.

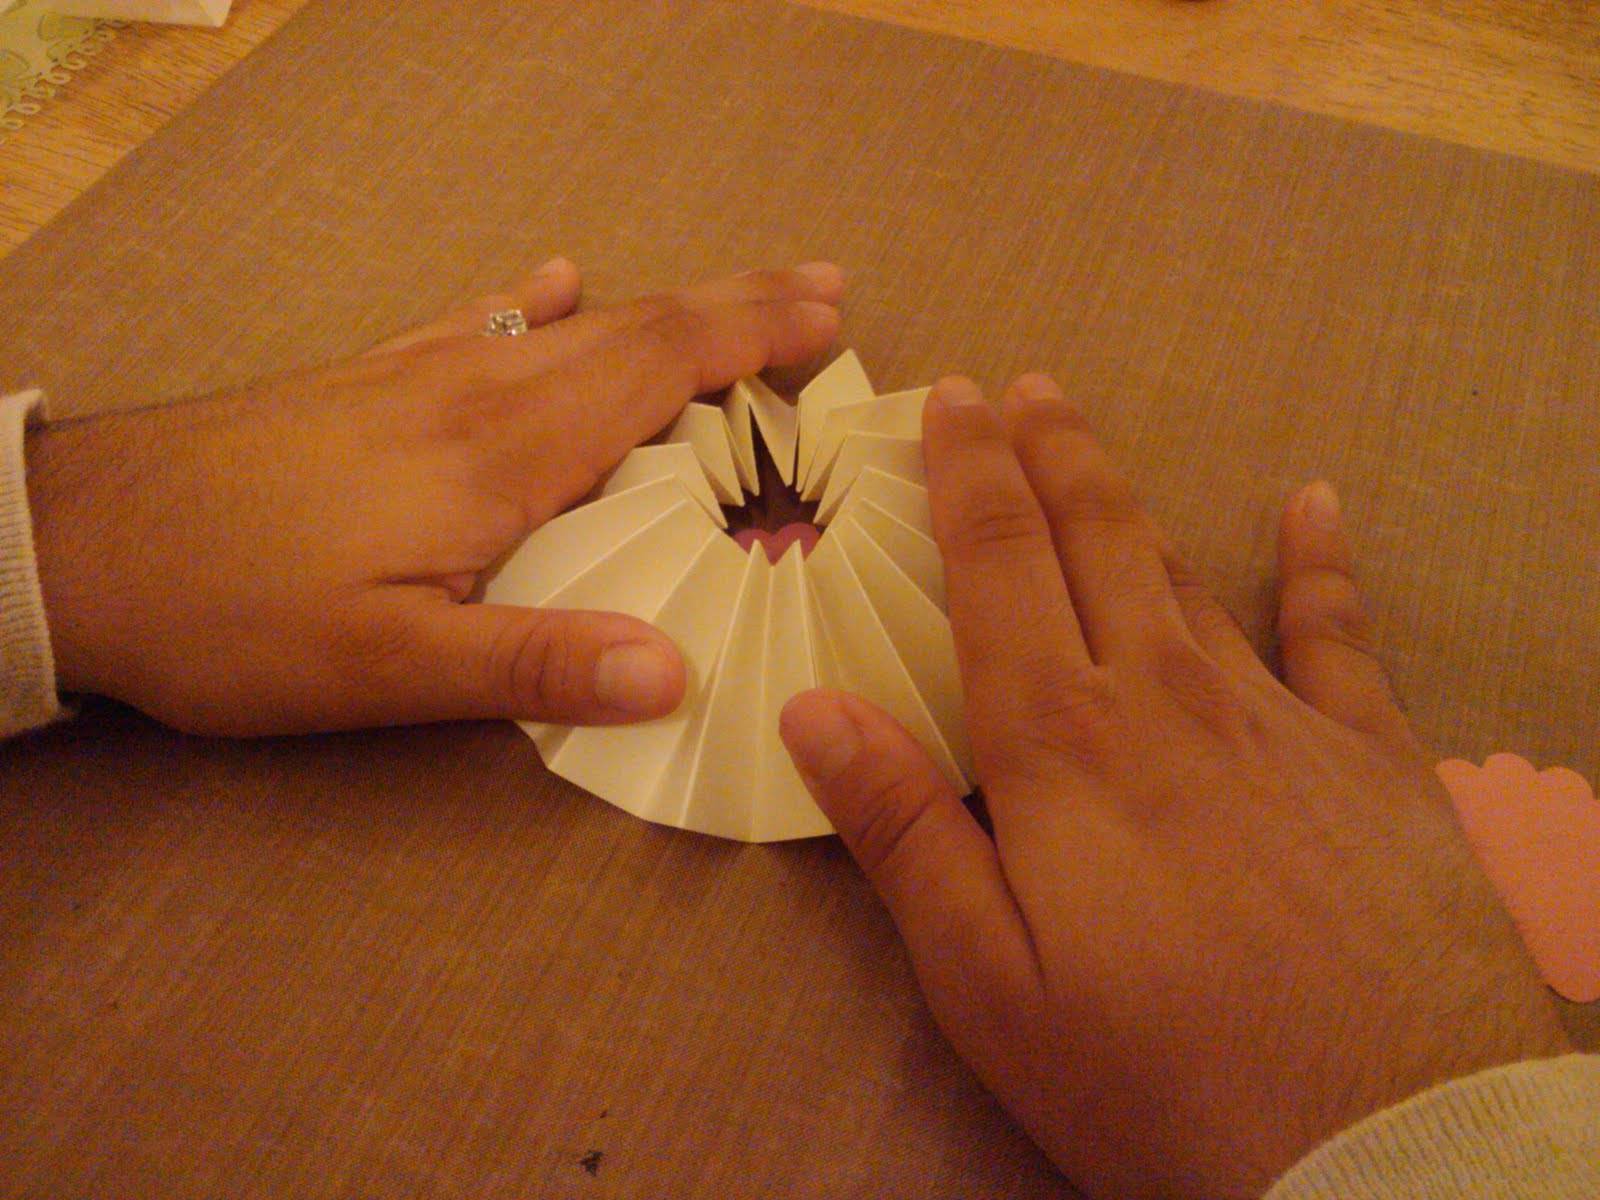
4. Now you will need to glue your long strip into a circle using the same technique of having continuous mountains and valleys.

5. Punch two circles. Using a hot glue gun cover one circle with glue (be careful!) and fold the strip circle inwards onto the circle with glue. It doesn't have to be perfectly centered because this will be the bottom of your yo-yo. You can also use a strong liquid adhesive or glue dots but it may take a few tries to get it to stick. I'm a little impatient so I prefer a hot glue gun which works immediately!

6. Glue the top circle onto the center of your yo-yo. You're ready to add it to your project!


Depending on what you are making, you will need to play with the sizing to get what works for you. Generally speaking you can keep in mind that your yo-yo will be about double the size of your strip (i.e. a two-inch strip will make a yo-yo that is about 4 inches wide). For a scrapbook layout one strip that is 1 inch and scored at every 1/4 or 1/2 inch will do the trick. Also keep in mind that the smaller the space between your scores (i.e. scoring at every 1/4 inch) will yield a tighter looking yo-yo. So grab some scratch paper and play around with sizing. In the end you'll have lots of yo-yos to work with!
Thanks so much, Becky, for your fabulous tutorial! If you'd like to see more of Becky's work, please check out her blog here!
And now, all of our Peeps, go forth and act like complete yo-yo's!
We'll see every back here tomorrow to check out one of Christina's projects!
Have a great day!
No comments:
Post a Comment