Background

Showing posts with label Monthly Challenge. Show all posts

Saturday, January 14, 2012

January Challenge!

Hello!

I hope that you found some inspiration in the Design Team's projects from this month!  There's nothing like starting the new year fresh and inspired to continue with or start papercrafts!

I don't know about you, but one of my "goals" - I don't do resolutions! - is to be more organized in 2012.  I want to be able to find the "the little man that sits in the green tractor with the scoop and yellow letters" that my little boy asks for or my 7/8 circle punch along with my 1 1/4 circle punch that I NEED to use together on a project!  So, to help keep you inspired with the New Year, we've decided to do a different type of Challenge this month!

Instead of our typical Challenge, we asked the Design Team to share any organizational tips or products that they feel might be helpful!  We'll be sharing all of them this weekend in hopes that you'll feel inspired to organize your crafting space so you feel more productive and inspired!

Let's start off with a storage idea from Becky!

I will be completely honest here. When I saw that the upcoming challenge had to do with organization, I kind of panicked. My husband even laughed a little (he quickly covered it up) when I told him I had to give examples of how to organize the chaos that is my craft area. After a few weeks of, "What on Earth am I going to do?" I finally pulled it together. I decided to tackle some of my biggest problem areas for this challenge: ribbon, punches, and small embellishments.

The small embellishments and ribbons came together over a few evenings. A friend of mine was getting rid of some small fixtures and I asked if I could take a couple. I had purchased a package of small plastic bottles and the shelves were the perfect size for them. My best friend happened to be over as I was working on this and since she loves to organize, she got involved too. She brought me some baby food jars and I spray painted all of the lids silver. Then we got to sorting ALL of my small embellishments. I had no idea how much space all of that packaging was taking up! Then a different friend gave me some quart sized mason jars which were perfect for the ribbon!


Next were the punches. I had an old, over the door shoe rack that I wasn't using so I hung it over the back of a door close to my desk and put all of my punches in the slots. I had also been saving spaghetti sauce jars (poor husband didn't realize why we had been eating so much spaghetti lately) which were perfect, after I spray painted the lids, for holding flowers. I had originally wanted the jars for ribbon but the opening was too small.

Although it took a lot of work, I am so happy that my craft area is beginning to look somewhat organized. I'm hoping that if my stash is easily accessible and in sight that I will actually begin to use some of it. So thank you for making me get to work!

And now let's hear from Debbie on what she uses to organize her paper!

I like to buy patterned paper and coordinating cardstock at the same time, even if I don't have a specific project in mind. I store the "set" together in a 12x12 clear envelope that closes with a snap or button/string....or even the clear cellophane bag that Pages from the Heart uses for purchases.


The paper packs fit perfectly in ITSO storage cubes from Target. I turned the top two cubes on their sides and used a shelf as a divider so the packs would stand upright. The units also come in bright pink and black. You'll find them near the Rubbermaid/Sterlite storage bins at Target. The large cubes are $9.99 each and the fabric bins and shelf dividers are even less....they are often on sale.


And last, I wanted to share some of my office organization.

When we bought our home a few years I designed my office with a few goals in mind:
- to organize my office inexpensively
- to have my commonly used supplies easily accessible

So, I went to Ikea and found great storage solutions in their kitchen area!  It was much less expensive than buying craft organizational items.

The trays I use for my adhesives, mists, Stickles and Re-inkers.  The basket is for little items that can't really stand on their own - and I used binder clips to hang some of my QK dies that don't fit in the QK Storage Binders from the basket.

In another part of my office, my husband made a Die Cut Center for me.  He made a half table and attached it to the wall and the built-ins.  The table houses my large paper trimmer and Epic while the shelves immediately above the table have my dies and accessories.


We'll be back tomorrow with more great ideas and tips! 

And here's how you can participate!  Please email me at ayokleyjessup@gmail.com any tips or organization products that you use along with an explanation!  That's it!  The Challenge will end at midnight on Saturday, January 21!  The winner will receive a goody bag full of product from Page's!

And, if you want to meet the Design Team, please join us at the first ever Design Team Crop taking place January 21 from 1-9!  We'll have snacks, dinner and a great make-n-take for everyone that participates!  We can't wait to meet everyone!  Please call the store to make your reservation!

Thanks so much!
Andi


Tuesday, August 2, 2011

Page's Challenge

Hello Everyone!

I hope that everyone has started hopping from shop to shop and is finding all sorts of great inspiration!  I'm sure Page's will have you singing "New York, New York" for the next few weeks after you get your picture taken with the Statue of Liberty crown and the fantastic backdrop!

Okay, now let's get onto the Page's Challenge!  I think that it's a totally appropriate and even (gasp) easy challenge... which is... well, take a look at some of our projects and see if you can figure it out for yourself!

Here are 2 single page layouts from... wait for it... Mary Jo!  Yes, I asked Mary Jo and Kathy to participate in this months Design Team Challenge Samples.


I love the titles, I believe that MJ cut them out using the Cricut.  The signs and the RV are great and really add some pop to the pages!

Here's an envelope mini-album that I created after a trip to the beach that I took after a morning of Shop Hopping!


I used  9"x6" Manila envelopes and a few tags, I wanted an option to store journaling or extra pictures in the envelope.  I used mostly paper with some twine (shocker, I know) and buttons.  I really wanted the pictures to stand out and the paper just helped give me the fun feelings that we had that afternoon.

I created 4 pages for the August Page Maps class that happened to coincide with the challenge theme.  I used WeR's Travellite paper line which is super cool and retro and a whole lot of fun. 

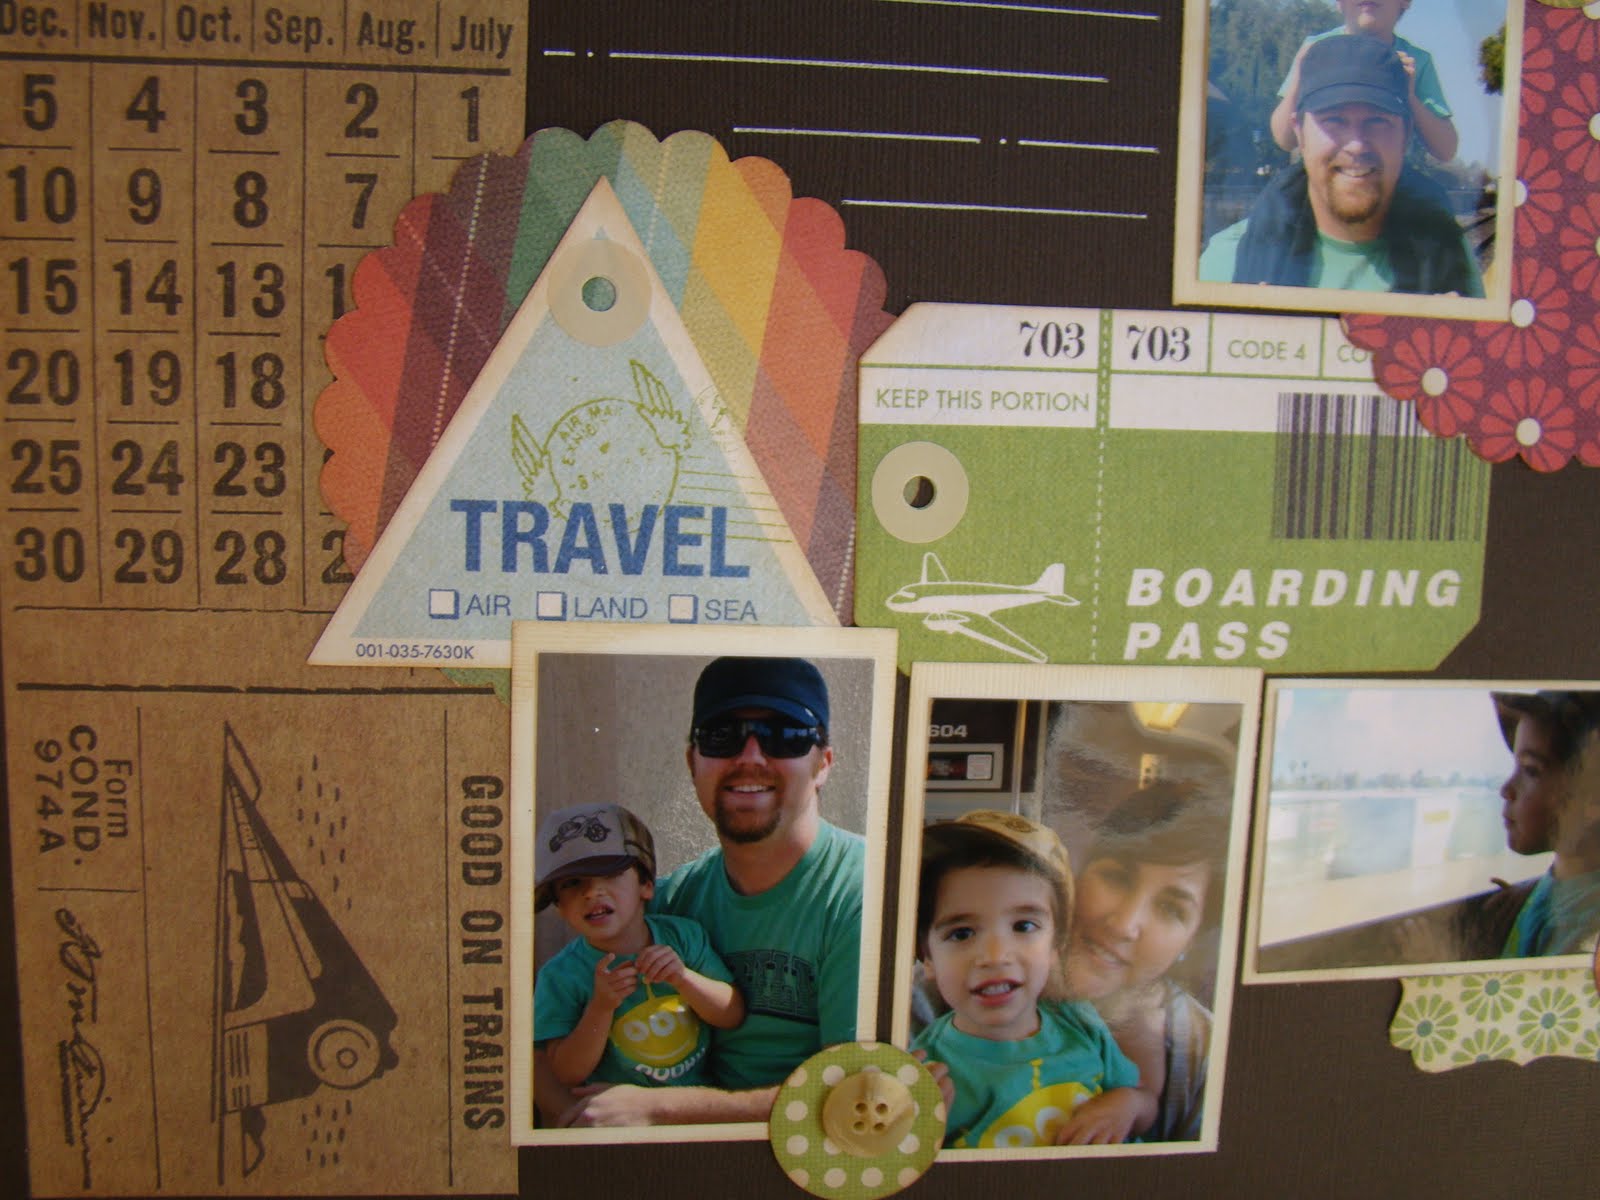
Here's one page that I created the fun paper and a luggage tag and a stamp from the collection. 

Here's my double layout that is my favorite - I love the luggage tags, I couldn't use them enough!  I also used Glimmer mist to help give the blue paper a more vintage feel and it turned out exactly how I imagined it would.

Here's a close up of another page with more luggage tags, except I used the luggage tags instead of paper  to keep the flow of the page.  All of these pages have picture of my son's first train trip, which was perfect for the paper line!  But don't feel limited with this paper line, they're all about every type of transportation - planes, trains and automobiles!

So that's out inspiration!   If you haven't figured it out, the theme is travel/vacation! Please create any style of project with a travel/vacation theme and email me a picture of it and any relevant information about your project to me by midnight, August 9th.  We really really really want to see what you, our readers, create so please show us what you can do!  We are so excited about all of our challenges and hope to inspire you to work on your own projects and have a chance to win some goodies from Pages and notoriety!  There's no bad side to the challenges!

Please email Andi with your projects at ayokleyjessup@gmail.com.

Thanks so much!  Hope you all have fun unpacking your supplies and creating!
Andi

Monday, July 11, 2011

July Challenge Winner and DT News

Good Morning! 

July is just zooming by, isn't it?  I cannot believe that it's already the 11th, and we have a fun, inspiring week ahead of us! 

Today we're announcing the winner of our Grid Challenge.  I was super excited to see a card as one of the projects that our Peeps submitted and I also love how the grid background blends in so nicely with the card and doesn't over-shadow the rest of the card! 

Sooo, without further ado....

Drum roll please.....

Our winner is Crystal! 

Here's what Crystal had to say about her card:
I stamped and embossed the butterfly image with Kaleidoscope embossing powder. I love the blue tint to the shimmer.

She used the Authentique paper that is new to Pages - if you'd like to get a better look at the paper, please stop in the store!

Thanks so much, Crystal, for playing along and be sure to pick up your Page's goody bag! 

If you're interested in seeing more of Crystal's ideas, check out her blog by clicking here!

We'll be announcing the next Page's Challenge in a few weeks, so stay tuned!  Also, our fabulous Design Team have been super busy getting this month's projects finished and turned in and we'll start sharing those tomorrow along with a ton of tutorials created by our design team!  So, come back tomorrow and "hang" out with us... it'll be a serious "party" of creativity...

Did I drop enough hints on the theme of this months projects?

See you tomorrow!
Andi

Saturday, July 2, 2011

July Challenge!

Hello!

I'm so excited to announce our monthly challenge for you, our readers!  We so appreciate your support and want to see what you do!  So, let's get started!

Did anyone figure out my little riddle?  Or clue?  Well, a city is planned on a GRID!  And grids are super hot in the papercrafting world right now sooo we decided to challenge everyone to create a project based on a grid concept.  How far you take it, what supplies you use, if you show your grid or let your paper show your grid... it's all up to you!  And to keep you inspired and on the same "page", let me show you what some of our DT created.

Here's a layout by Michelle.

Michelle used a grid  made from paper and photos that are all the same size for her background but let her focal picture really pop-out from the grid.  Her "Top 10" list is also a great part of her grid.  Here's what she has to say about her project and some more close-ups.

I typed out a top ten list for Cindy. But mostly the reasons show her concern for me and wouldn't endear her to anyone else. Don't get a schipperke if you want a friendly, social dog that can be easily petted by visitors. People could pet Cindy if they followed a set protocol, but mostly people don't want to follow rules, so she just ignored them. But she was sweet to me.

The Sketch

I found a new sketch site that has weekly layout and card sketches, along with monthly prizes if you link your projects. This is based on Sassy Lil' Sketches, June 14th reveal. Here is the sketch I used:

 
And here's another layout and a card that I created using a grid.
 

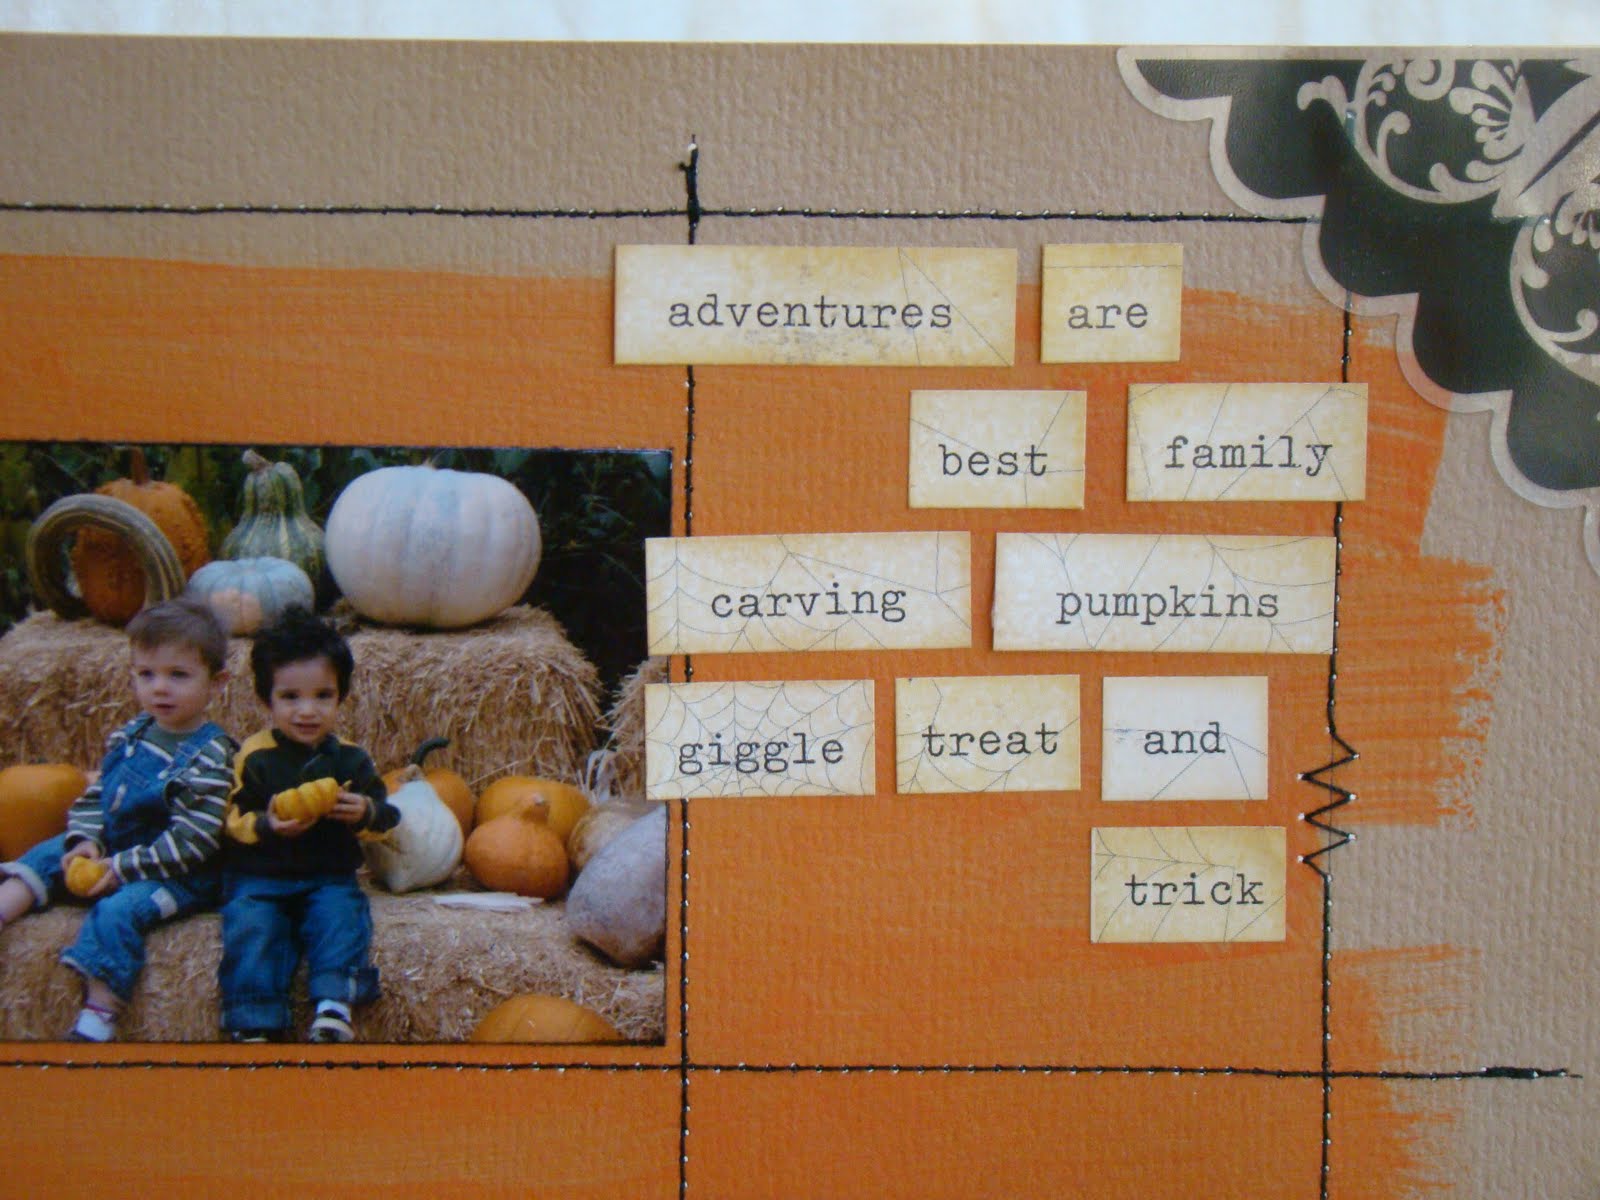
Instead of using a lot of paper, I decided to paint my background and then map out my grid with stitches.  I then used wallet sized photo's for my pictures and embellished the other squares with little mic. doodads - transparency's, buttons, twine, spooky word squares.  I did use a large piece of paper "Double Double Toil and Trouble" and the Shakespeare poem for the title of my page.  I know you might think I'm a little crazy to work on a Halloween page in June, but I found my orange paint first so that's what I went with.

For my card I took a scallop circle punch and punched out 6 different patterned papers and then laid them in a grid pattern.  I added a punched star and a button to one scallop circle for some pop.  I also added a little tab and a number stamp on the top to add a little more interest.  This card took me literally 10 minutes to create from start to finish.

And our last gird project comes from this months Guest Designer, Becky Medrano!  You might remember Becky because she was last months Challenge winner!  Yay, Becky!  Let's take a look at her grid based layout!

And here's what Becky had to say:

I am ECSTATIC for my first ever guest designer reveal! And this particular reveal is especially meaningful because it features my favorite scrappy subject…

When I saw the Cats & Dogs line by Pebbles I knew I just HAD to have it! I am slightly obsessed with scrapping pictures of my sweet kitty and the colors are just perfect for my orange tabby, Normandy .

I created this layout featuring a grid using one of Becky Fleck’s Pagemaps from November 2010 which can be found here http://pagemaps.com/nov10maps.htm. Instead of stitching around the grid I used the backs of the borders along the bottom of the papers to create a mat. In each corner I punched a kitty face using my Epiphany Crafts small circle punch to create epoxy stickers. This is my latest favorite tool! I cut circles from the Catnip paper to layer and used Diamond Glaze and pop-ups for dimension. I also added some ribbon to one of the strips for a little added detail. The coordinating Dimensional Stickers-Cat were the finishing touch. I distressed most of the pieces with Colorbox Distressing Chalk in Chestnut Roan.

You can check out Becky's blog at www.memoriesbybee.blogspot.com.


I hope that you're feeling inspired to participate in this months challenge.  The deadline for submissions is July 10th - midnight so please send your submissions to ayokleyjessup@gmail.com.  We'd love to see what you do and if you win, you'll receive a fun goodie prize bag from Page's and bragging rights! 

Hope everyone has a safe and very Happy Fourth!
Andi